Background
March
13th,
2002. 41
Commando has been tasked with an assault on Keren Jaghur to seize the
local Emir's compound and break the local Ansari al-Mawt's control
over the community. The
Emir, of course, will resist, as will his Ansari. Luckily, thanks to
a daring heliborne insertion, the Royal Marines have started very
near the town – maybe near enough to seize a battle-winning
advantage in
the battle for what will, six years later, be the Royal Sherwood's
platoon house.
 |
| 41 Commando's objective, bottom right corner. |
 |
| View of Keren Jaghur from the north. |
A
Royal
Marine platoon includes three sections of two fireteams with quite
high firepower (8 and 12 dice respectively), supported by a sniper
team, mortar and two Senior
Leaders.
They are Elite +9.
The
Emir's local
veterans have
four squads of eight men (10 dice), 2
Junior Leaders, a
Superior Junior Leader
and the Emir himself, a Senior Leader. They
are Green -7.
Despite
the Royal Marines' 9pts of support, the Emir's men will have 20
points to oppose them with. The RM choose an unmanned UAV (3), a
Medic (1), Air Support (4) and an Adjutant (1). They plan
to identify the enemy as soon as possible, and then deploy to destroy
before seizing the objective. Their
Force Morale of 10 means they have a good chance of pushing through
casualties to a successful conclusion.
The
Emir's men choose a
squad of Tier One Shadow Brigade veterans (6), a 60mm mortar team
(3), two snipers (4), two squads of Green insurgents (6), and 6” of
barbed wire (1). With over fifty men, they hope to force the RM to
deploy unfavourably, and shock them enough to keep them away from the
objective. Their
Force Morale of 8 means that they are quite brittle, and cannot
afford to use the usual suicidal Ansari tactics.
Patrol
Phase
Making
full use of
their five free moves, 41 Commando penetrated halfway into Keren
Jaghur from their start line in the western fields before the Ansari
had any idea they were there. By awkward coincidence, they were
actually alerted by a caravan of cattle herders coming over the
central bridge.
The
RM jump-offs were located in the two western compounds, and in the
green zone to the north. Hopefully the threat of an outflanking
manoeuvre and the loss of a jumpoff point would force a splintering
of the insurgent mass.
The
Ansari al-Mawt (AaM) jump off points in
the greenzone, the mosque, the objective and in the fields to the
east. This
layered defence was designed to give multiple chances to beat the RM
off the objective.
Turn
One: Royal Marine Phase 64332
Resisting
the urge to deploy his manoeuvre sections en masse, Lieutenant
Cairn-Wilkes first
set up his support section under Corporal Applewell, who put both
teams
on Overwatch. Corporal
Fasil led his section down the southern side of town, leaving one
fireteam on Overwatch facing the mosque.
 |
| Applewell's support section. |
 |
| Corporal Fasil's section, Fasil front in the street. |
Ansari
Phase 66421
A
mortar team deployed behind the compound, and
further into town appeared Umar Haqqim (SJL) and a squad of fighters.
Those
behind the mosque were safe, but those on the roof were caught in an
Overwatch crossfire which
left a
man bleeding against the golden dome.
Ansari
Phase 64331
The
mortar roared into life, spraying chips of masonry into Corporal
Fasil's fire group. The
Shadow Brigade appeared within the compound under Jallaluddin's
command, and
Haqqim rallied his men into pouring covering fire at Fasil's fire
group.
 |
| The Shadow Brigade defend the compound gates. |
RM
Phase 64211
Sergeant
Taggart deployed in the northern greenzone, and began calling in Air
Support for the advance. Fasil's
team rushed behind the next house as
Corporal
Anderson's
blocking section deployed in the
central
buildings and fields. Finally, the mortar opened up on the roof of
the mosque to no avail.
Ansari
Phase 66652
Hussein's
fighters opened fire, but they had misjudged the range, and the RM's
skills and drills kept them safe.
Turn
Two – Ansari Phase 55322
Haqqim
rallied his men. The
Shadow Brigade had found the range now, and raked
Anderson's men with a frightening hail of fire. Haqqim's
men, full of new heart, poured fire into Fasil's fire group again.
RM
Phase 66653
Anderson
rallies his men
Turn
Three – RM
Phase 43211
Sergeant
Taggart continues his directions to Bastion. The
UAV finally flies in overhead and
immediately spots armed men in the greenzone. Bastion
replies: an
AH-64A Apache is inbound. The
support section pours fire into the target compound. The mortar kills
a man, and Lance-Corporal Masters,
the sniper, actually scores a hit on Jallaluddin Hussein himself,
spinning him to the floor with a 7.62 round. Anderson's
men advance with fire through the field, trying to put a building
between them and the Shadow Brigade. Fasil's
men keep going down the south road, still using buildings for cover.
 |
| The UAV-eye's view of the battlefield. |
 |
| The spotted insurgents. |
 |
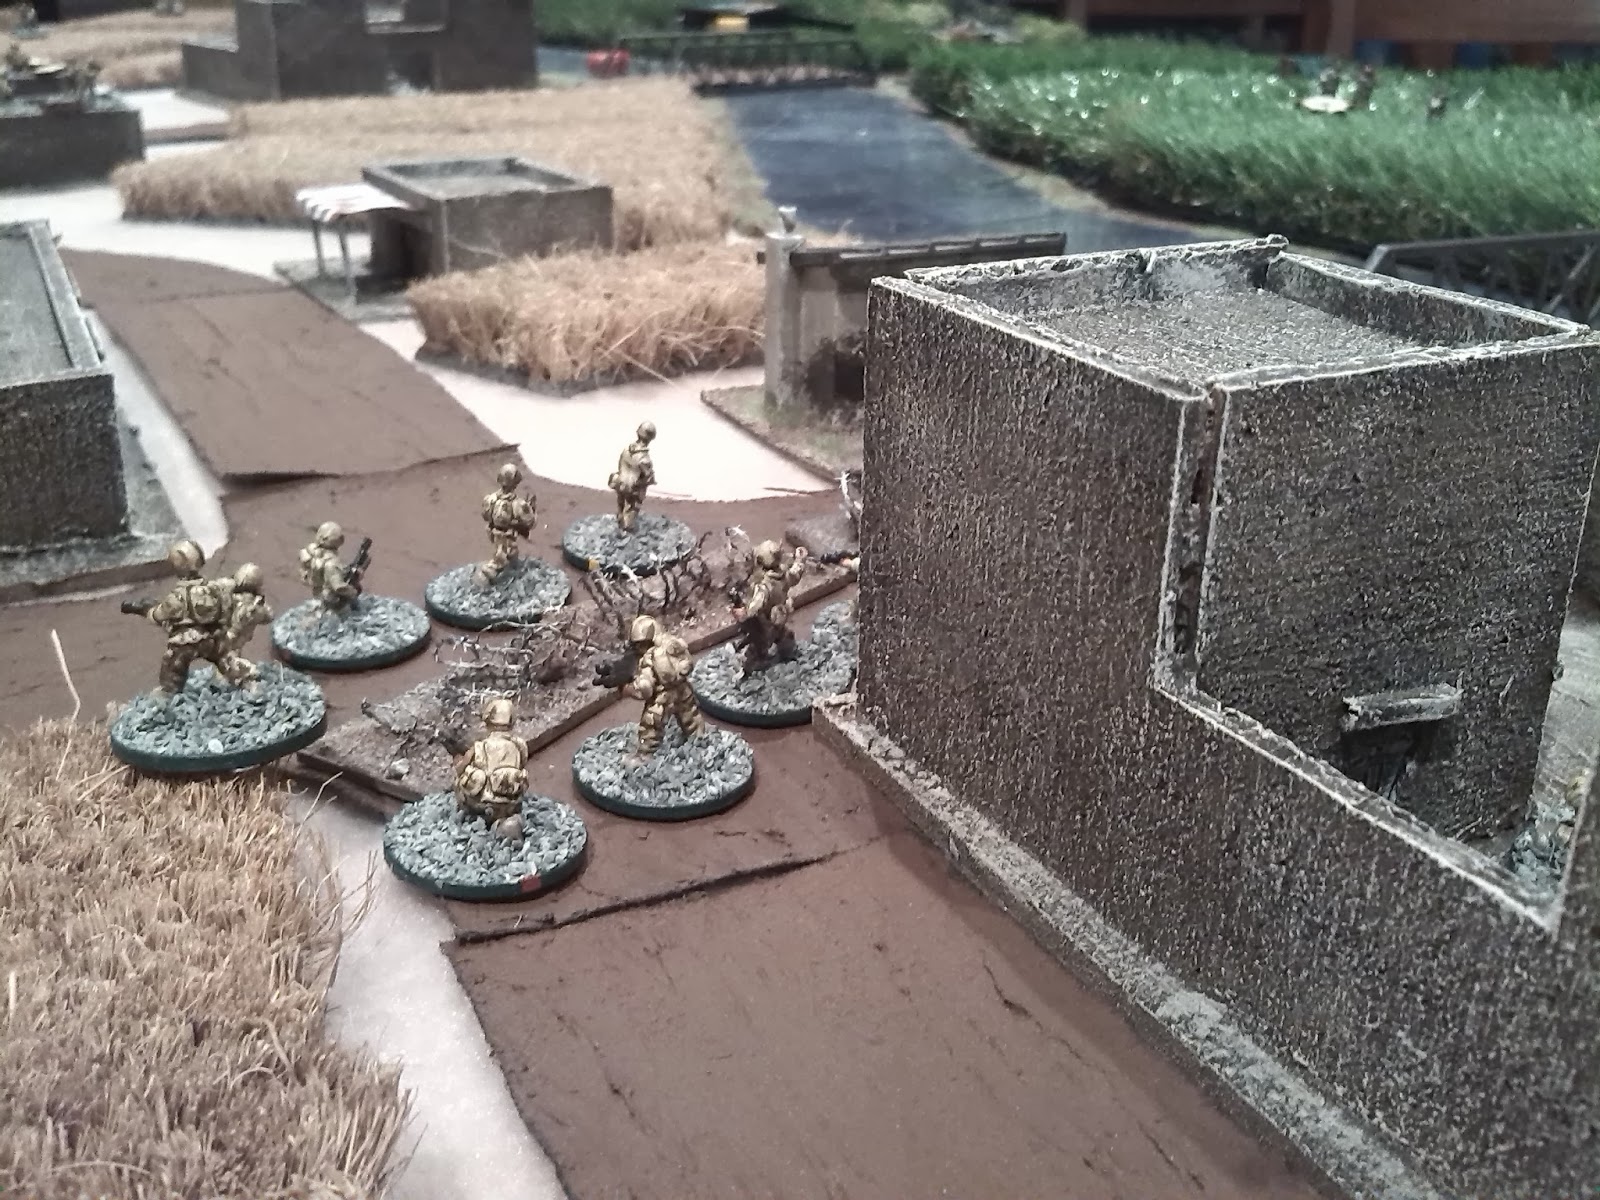
| Fasil's men reach the T-junction. |
Ansari
Phase 44331
Seeing
Fasil's advance, Haqqim orders the men in the street into the fields,
and returns his concentration to Anderson's fireteam. Fasil's
men skid to a halt as a mortar shell bursts in front of them.
RM
Phase 65432
Fasil
leads his men into the house and opens up on the insurgents opposite.
Anderson's section are much more effective, knocking out Haqqim and
one of his compatriots (This
was the second time a -2 was rolled for a Junior Leader injury,
putting the Ansari at FM4 after only a few phases).
Sergeant
Taggart began easing his way forward.
Ansari
Phase 4322
Dragging
their wounded leader, Haqqim's men on the mosque roof disappear
inside. The
Shadow Brigade fired ineffectually at Fasil's flanking team, and
the Emir finally appeared, directing even more fire at them.
RM
Phase 64431
Fasil's
men fired at the fields, injuring the Neta
leading
the enemy and killing the man who went to help him. The
mortar he called in did not do any
appreciable damage. Taggart
moved to a roadside hut.
Ansari
Phase 6544
The
Emir screamed, cursed and pleaded, but all his efforts were in vain.
His
men shot worse than they day they first picked up a rifle.
RM
Phase 62222
With
the mosque suspiciously quiet, Anderson's men turned their attention
the objective and fired at the Shadow Brigade, appropriately
supported by the support section. Masters
claimed another victim. Cairn-Wilkes
then deployed to rally Fasil's fire group and direct their attention
to the men shooting at their corporal. In
what men of their grandfather's generation would have called a
serenade of fire, they killed two and routed the rest from the
battlespace.
Ansari
Phase 4211
Two
snipers opened up from the greenzone, pinning Anderson's fireteam.
Seeing
this, the compound defenders opened up on them as well, nearly
breaking them. The
men in the greenzone began working their way forward, toward
Taggart's position...
RM
Phase 66421
The
support section kept up its fire against the compound. Fasil's
men ran to seize the enemy jump-off point in the field. The
lieutenant led the firegroup deeper into Keren Jaghur.
 |
| Fasil's men lay charges on the drainage ditch that led Ansari to the field. |
RM
Phase 66633
Fasil
and Anderson rallied their men. Fasil's
daring rush paid dividends and really shook the enemy morale.
Turn
Four – RM
Phase 66221
Anderson
rallied his men, and the whole section moves 9” to seize the
mosque.
RM
Phase 42211
The
promised Apache finally arrives and
gives the compound a desultory spray of minigun fire. Anderson's
fire group seizes the roof of the mosque, while he rallies the
manoeuvre group inside. The
final section finally appears, Corporal
Vincennes
leading
them in
Cairn-Wilkes' rush through town.
 |
| The Apache fires into the compound. |
 |
| The rush down "Main Street". |
Ansari
Phase 534
Back
on his feet, Jalalluddin seizes the reluctant Emir and disappears
with his surviving veterans, to the puzzlement of the circling air
assets.
 |
| Anderson's men control the mosque - the compound is empty. |
RM
Phase
53211
Anderson
and Fasil both send their men hurtling pell-mell for the compound
gate. Vincennes'
section leap-frogs the
Lieutenant.
Ansari
Phase
614
The
mortarmen fire at Anderson's team trailing in the open and fail
miserably.
RM
Phase 65321
Fasil
leads his men to capture the jump-off objective. Anderson's men move
into the cover of the compound walls, and Vincennes' section rounds
the corner of the mosque.
Ansari
Phase 525
– CoC Die unlocked!
In
the very moment of defeat, a large team of callow youths leap from
the fields to ambush Vincennes' men. Before they flee again, they
shock
them and critically injure Marine “Coffee” Coughlin. Another
group reveals itself in the greenzone and opens fire of Anderson's
sudden exposed fireteam. Luckily
his pointman sees them coming, and they suffer no serious casualties.
 |
| Anderson's assailants. |
RM
Phase 65331
Anderson
rallies his men and directs their return fire, killing four and
pinning the rest. Vincennes
rallies his section, and Coughlin's comrades drag him back around the
corner of the mosque.
 |
| Vincennes in the street, firegroup Anderson on the roof. |
Ansari
Phase 116
The
snipers open up on Anderson's beleaguered fireteam, but succeed only
in chipping the wall above them.
RM
Phase 66541
The
Apache turns its predatory gaze on the men beneath it. In seconds the
few survivors flee, giving Anderson's men the breathing space to duck
inside the compound.
 |
| Anderson's men cram in with Fasil's. |
Ansari
Phase 22
In
view of their
shattered morale, the seeming invulnerability of the Royal Marines,
and their terrible 3C, the Emir's men ruefully quit the field,
singing songs of older days, when courage alone could still bring
victory.
Butcher's
Bill
British:
Marine Martin “Coffee” Coughlin, critically wounded.
Ansari
al-Mawt: 15 confirmed KIA,
believed 40.
Overview
First
off, Man of the Match definitely goes to Corporal Fasil. What a
wunderkind! Right
from the beginning, his forwards elan opened up the Ansari defence
line, forcing them to divide their attention. Following that up with
seizing TWO jump-off points with no casualties makes him a definite
MiD in my book – maybe even a military medal?
Otherwise,
this played very historically
(I usually
lose too many men). The
British managed to keep their enemy on the back foot the whole game,
largely through effective choice of assets. The problem with the
Ansari list was that there were too many Teams
clamouring for 1s, and not enough leaders to adequately redress the
shortage, particularly once Lance-Corporal Masters and the others
started knocking them out willy-nilly. I
was amazed at how few casualties the Marines took, but then I have
never really played with Elites before – they hug their terrain
like no-one's business. Despite
that, there was a palpable tension while they were moving forward.
The chance of a critical casualty was always there, and only my
masses of 3s and 4s allowed my sterling NCO cadre to keep their men
going under the rain of unnerving fire thrown out by the enemy. In
the end, the Royal Marines did not lose a single Force Morale point,
though
they never got a CoC die either.
Really,
the Shadow Brigade should have used their 9” deployment radius to
set up a crossfire from the greenzone, setting up an L-shaped
fireforce dominating the town and making any advance a lethal
proposition. Any unit could have set up inside
the Heavy Cover of the compound – I should have sent the few elite
troops at my command out on a wing. The other huge error I made was not using the local Taliban's On Our Ground special rule to go Tactical whenever they don't move.
So,
while
Keren
Jaghur has fallen, the Emir is safe. His righthand man Haqqim is
wounded, but alive – as is the merciless Jallaluddin Hussein. There
will be no peace in the district until the leaders of the Alephstani
resistance are dealt with, either in a
shura
or in
a
firefight.